
A guitar diagram is a diagram to show where the notes are when playing a chord or a scale on the fretboard.
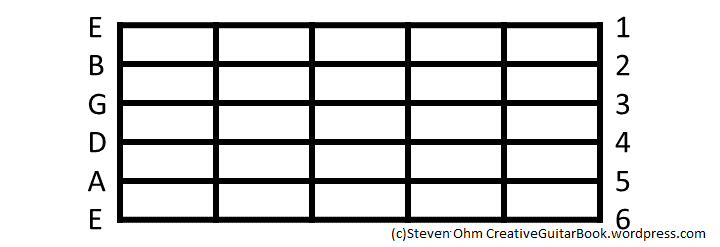
Lines from top to bottom represents the 6 strings on the guitar. 6th string being the thickest and the 1st string being the thinnest. The columns from left to right represent the frets. Unless there is a number underneath, the left most column would mean that it is the 1st fret. To show what notes are played in a chord or a scale, we put a dot on the corresponding string and fret.
Ex1) Play a note on the 4th string 7th fret.
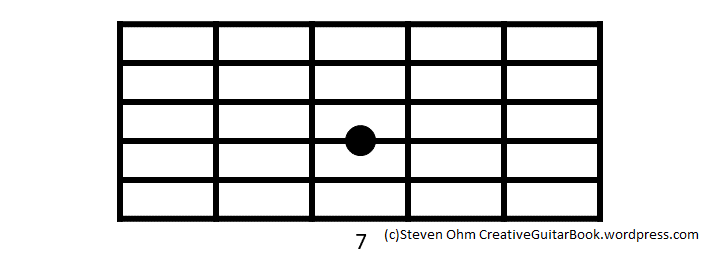
Notice the number “7” on the bottom which indicates the fret number.
Ex2) For fingering, I like to use letters instead of numbers to avoid any confusions.
Index finger – i
Middle finger – m
Ring finger – r
Pinky – p
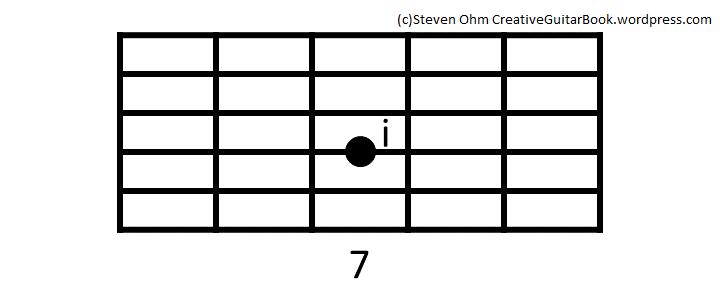
The above diagram shows to play the 4th string 7th fret with your index finger.
Ex3) To show an open string, a dot(circle) would be drawn next to the string on the left side of the diagram. Notice there are no fret numbers.
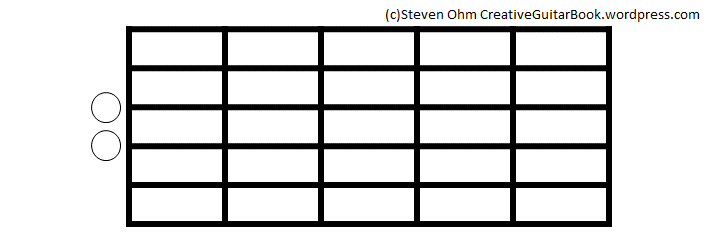
Play the open strings on the 3rd and 4th string.
Ex4) If there is an X on the left side, it means do not play that string.
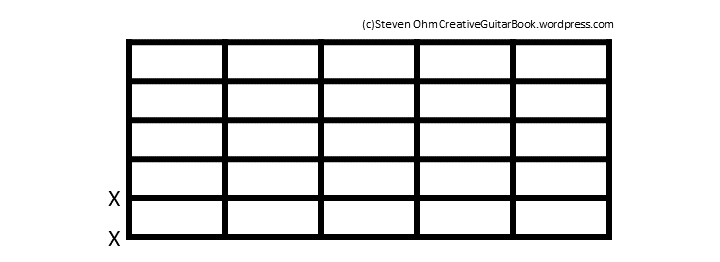
Do not play the 5th and the 6th string.
Ex5) For barre chords, draw a thick line through the frets you want to barre.
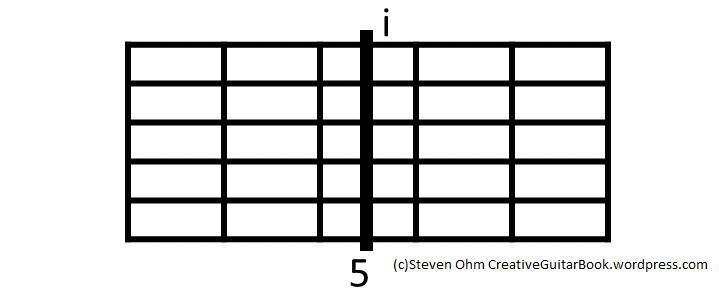
Barre all the string on the 5th fret with your index finger.
Ex6) Chord diagram
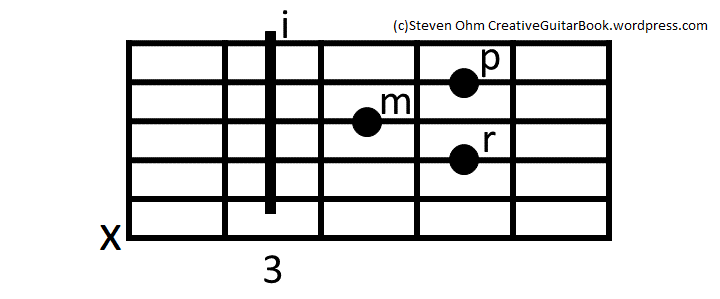
This diagram shows how a Cmaj7 looks like. Barre the 3rd fret starting from the 5th string with your index finger. Put your middle finger on the 3rd string 4th fret, ring finger on the 4th string 5th fret and your pinky on the 2nd string 5th fret. And do not play the 6th string.
Ex7) Scale diagram
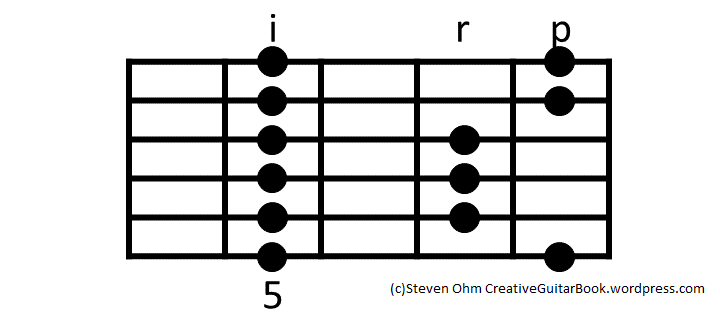
This diagram shows how to play an A minor (C Major) pentatonic scale. Notice that the 5th fret is not barred; meaning the notes are played separately. Fingering can be flexible due to the hand size but the basic fingering is shown on the diagram.
Images and content is ©Steven Ohm(2020). All rights reserved.

Leave a comment